
Introduction
Watch as Young brings Wolverine and Deadpool to life with insane detail. This project captures every bit of grit in Logan’s beard and the sharp metallic highlights on his claws, proving exactly why the right prep and paint matter for a professional result.
Creator Spotlight
Creator Spotlight
Creator Spotlight
Creator Spotlight
Creator Spotlight
Creator Spotlight
Creator Spotlight
Creator Spotlight
Creator Spotlight
Creator Spotlight
Creator Spotlight
Creator Spotlight
Creator Spotlight
Creator Spotlight
Creator Spotlight
Creator Spotlight
Creator Spotlight
Creator Spotlight
Creator Spotlight
Creator Spotlight
Young @Shoesheep_art
Hi, my name is Young, and I’m from Taiwan. I've been using Angelus paint for over ten years now. I started painting on shoes when I was 12 years old, back in middle school. I’ve always loved drawing on stuff - papers, notebooks, bags, and eventually, shoes. But in the beginning, the paint would always crack and peel off, which was super frustrating. So I started looking for solutions and eventually discovered Angelus paint on YouTube. That’s when my customization journey really began.
Creator Spotlight
Creator Spotlight
Creator Spotlight
Creator Spotlight
Creator Spotlight
Creator Spotlight
Creator Spotlight
Creator Spotlight
Creator Spotlight
Creator Spotlight
Creator Spotlight
Creator Spotlight
Creator Spotlight
Creator Spotlight
Creator Spotlight
Creator Spotlight
Creator Spotlight
Creator Spotlight
Creator Spotlight
Creator Spotlight
How to Re-customize a Jacket:
A Step-By-Step Guide
Prep the Leather
Start by wiping down the leather panels with Angelus Leather Preparer & Deglazer. This is the most important part of the job. It strips the factory finish and oils off the leather so your paint actually sticks instead of just sitting on top.

Start by wiping down the leather panels with Angelus Leather Preparer & Deglazer. This is the most important part of the job. It strips the factory finish and oils off the leather so your paint actually sticks instead of just sitting on top.
Paint the Leather
Build your skin tones and suit colors using thin coats of Angelus Paints. Young starts with mid-tones and then builds depth with shadows and highlights. Don't try to get full coverage in one heavy coat; 3-4 (or until full coverage) thin layers will prevent cracking and keep the leather flexible.

The Detail Work
Switch to Angelus Micro Detail Brushes for the high-resolution work. This is when you add the stubble on Logan’s face, the glint in his eyes, and the metallic texture of the claws. If the paint feels a bit thick for these tiny lines, mix in a few drops of Angelus 2-Thin for a smoother flow.

The Final Finish (optional)
Once the artwork is completely dry (wait at least 24 hours), apply Angelus 4-Coat Urethane Finish. Use the Matte version to protect the art from scuffs and water while keeping that natural, non-plastic leather look.

Creator Questions
Taiwan
About 13 years ago when I'm self learning customize shoes.
Customizing products.
1. Flat 4-Coat Finisher
2. The paints
3. 2-Thin
4. 2-Soft
5. Paintable filler
Have patience and trust the process, the outcome will always surprise you!
🛒 Young's Top 5 Angelus Products
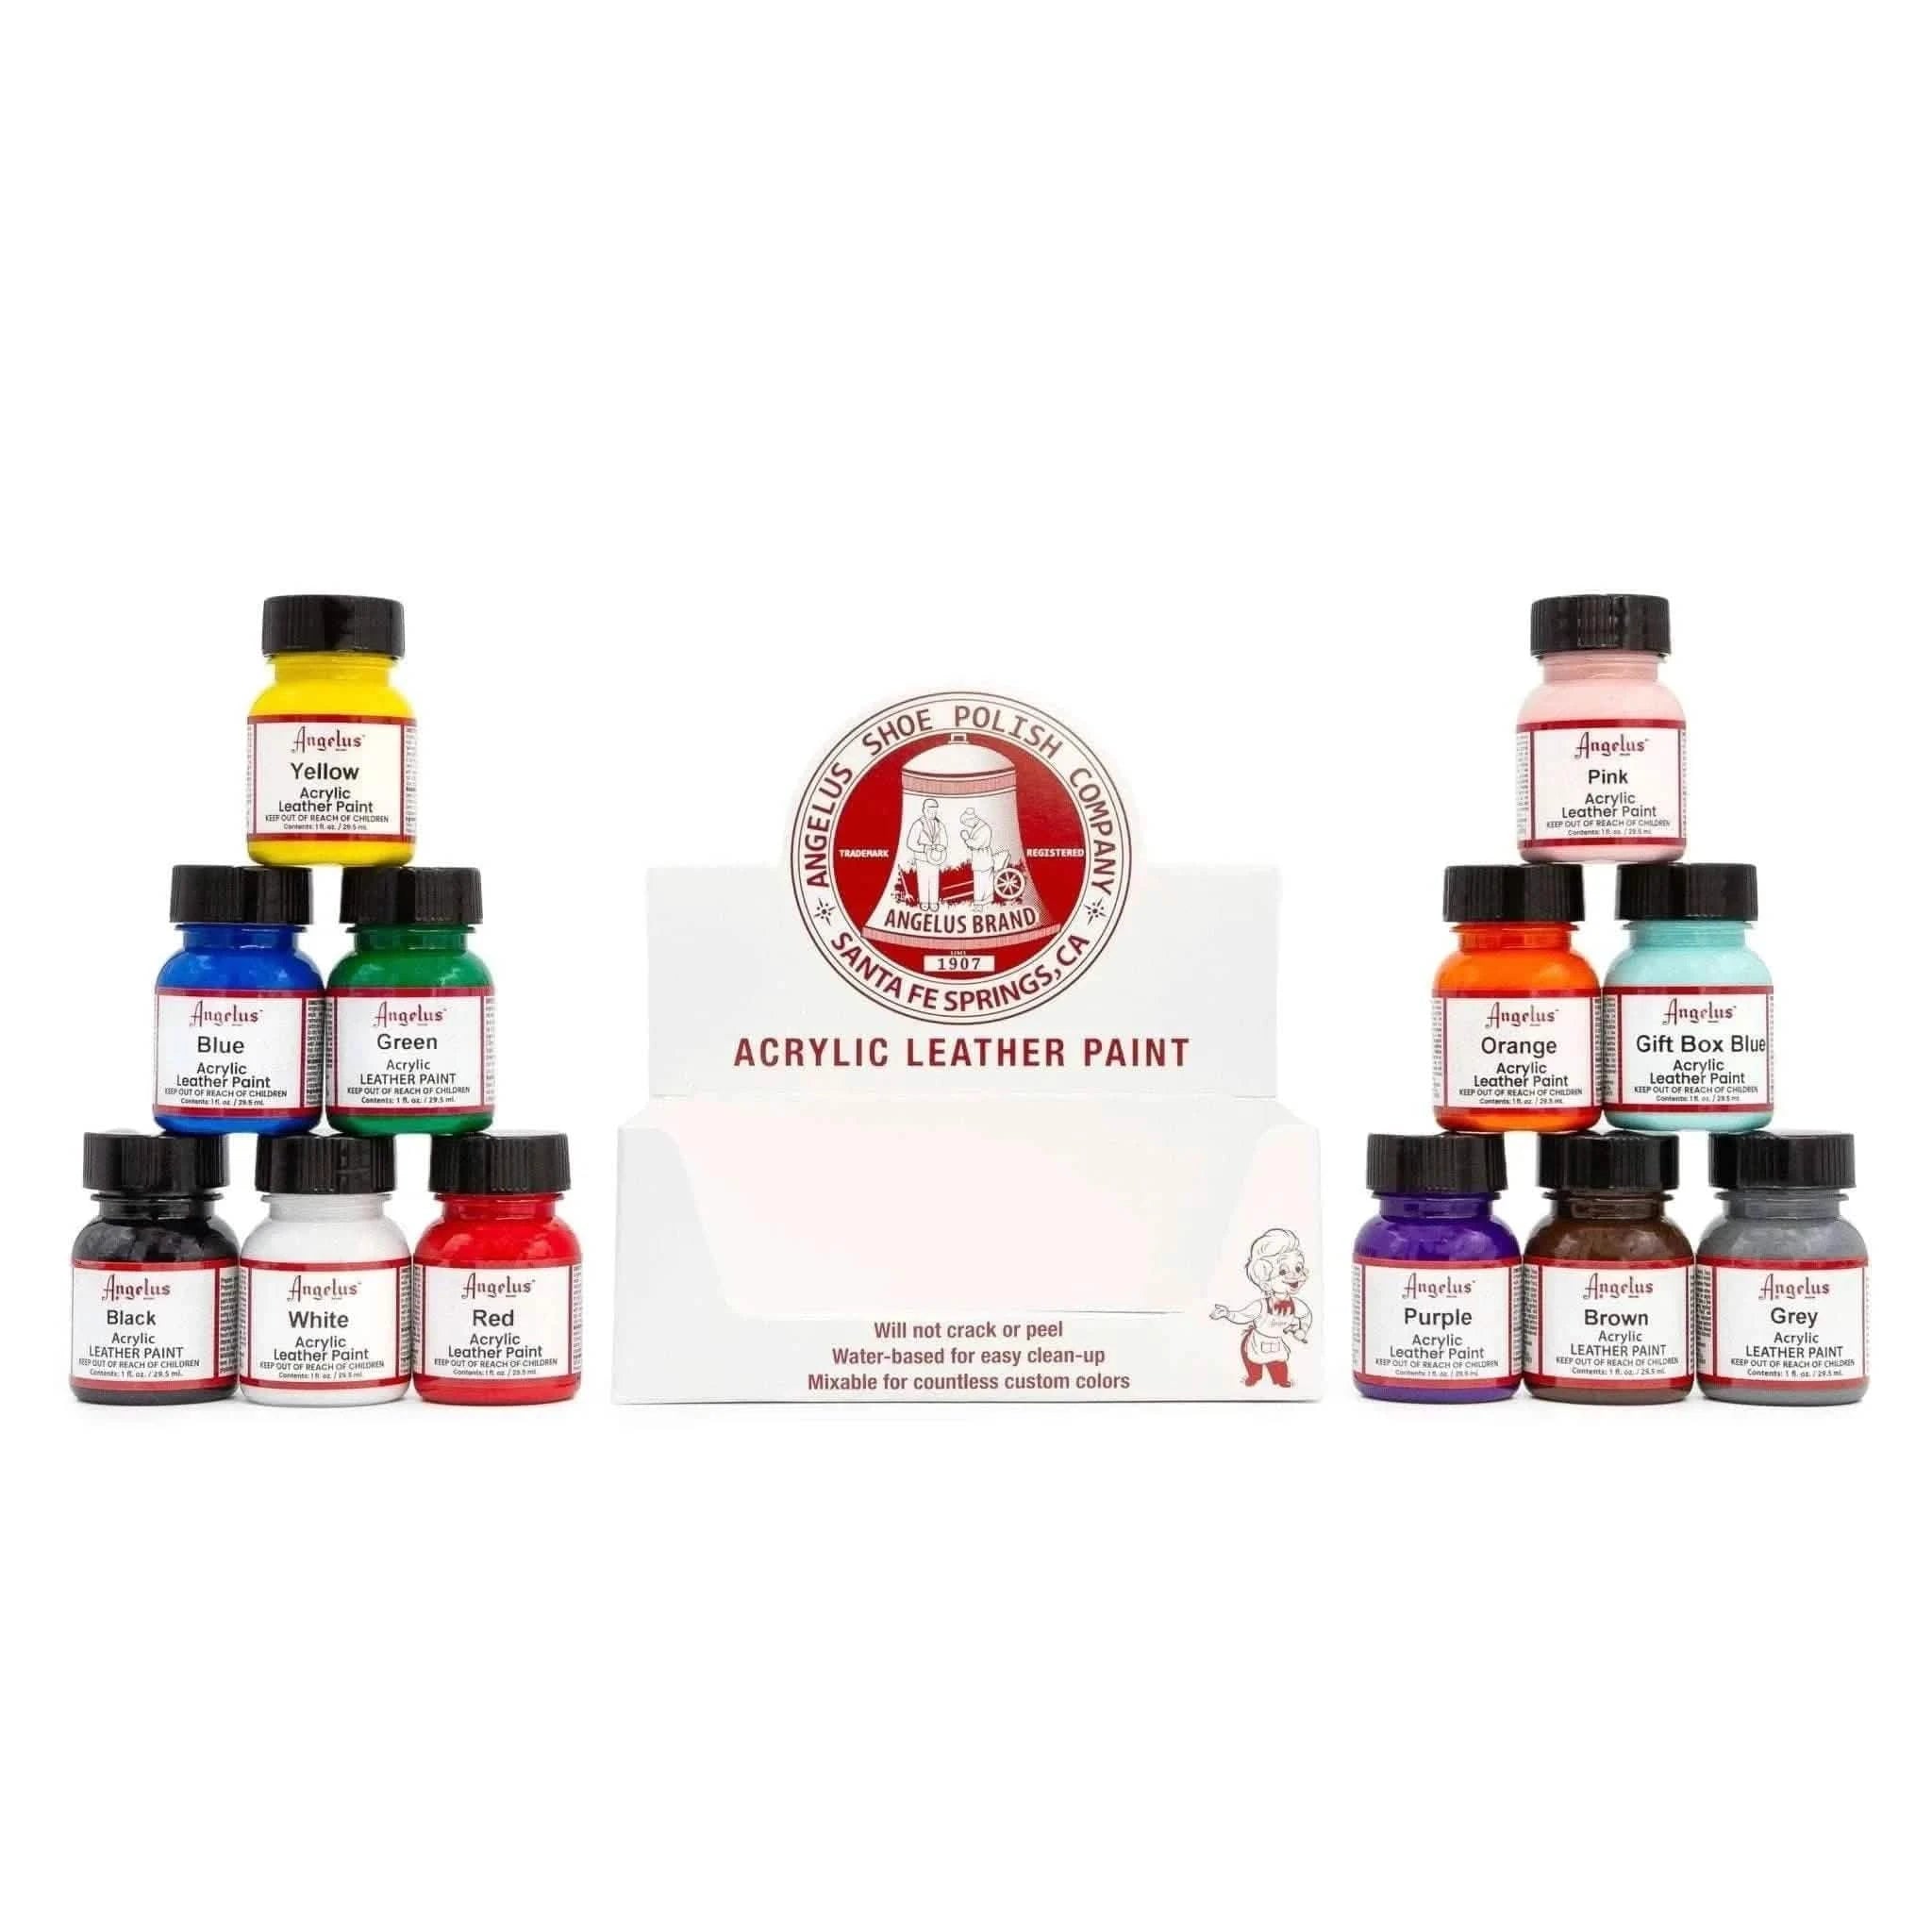
12 Color Paint Assortment Kit
$42.95
-$47.40

Flat 4-Coat
$6.95
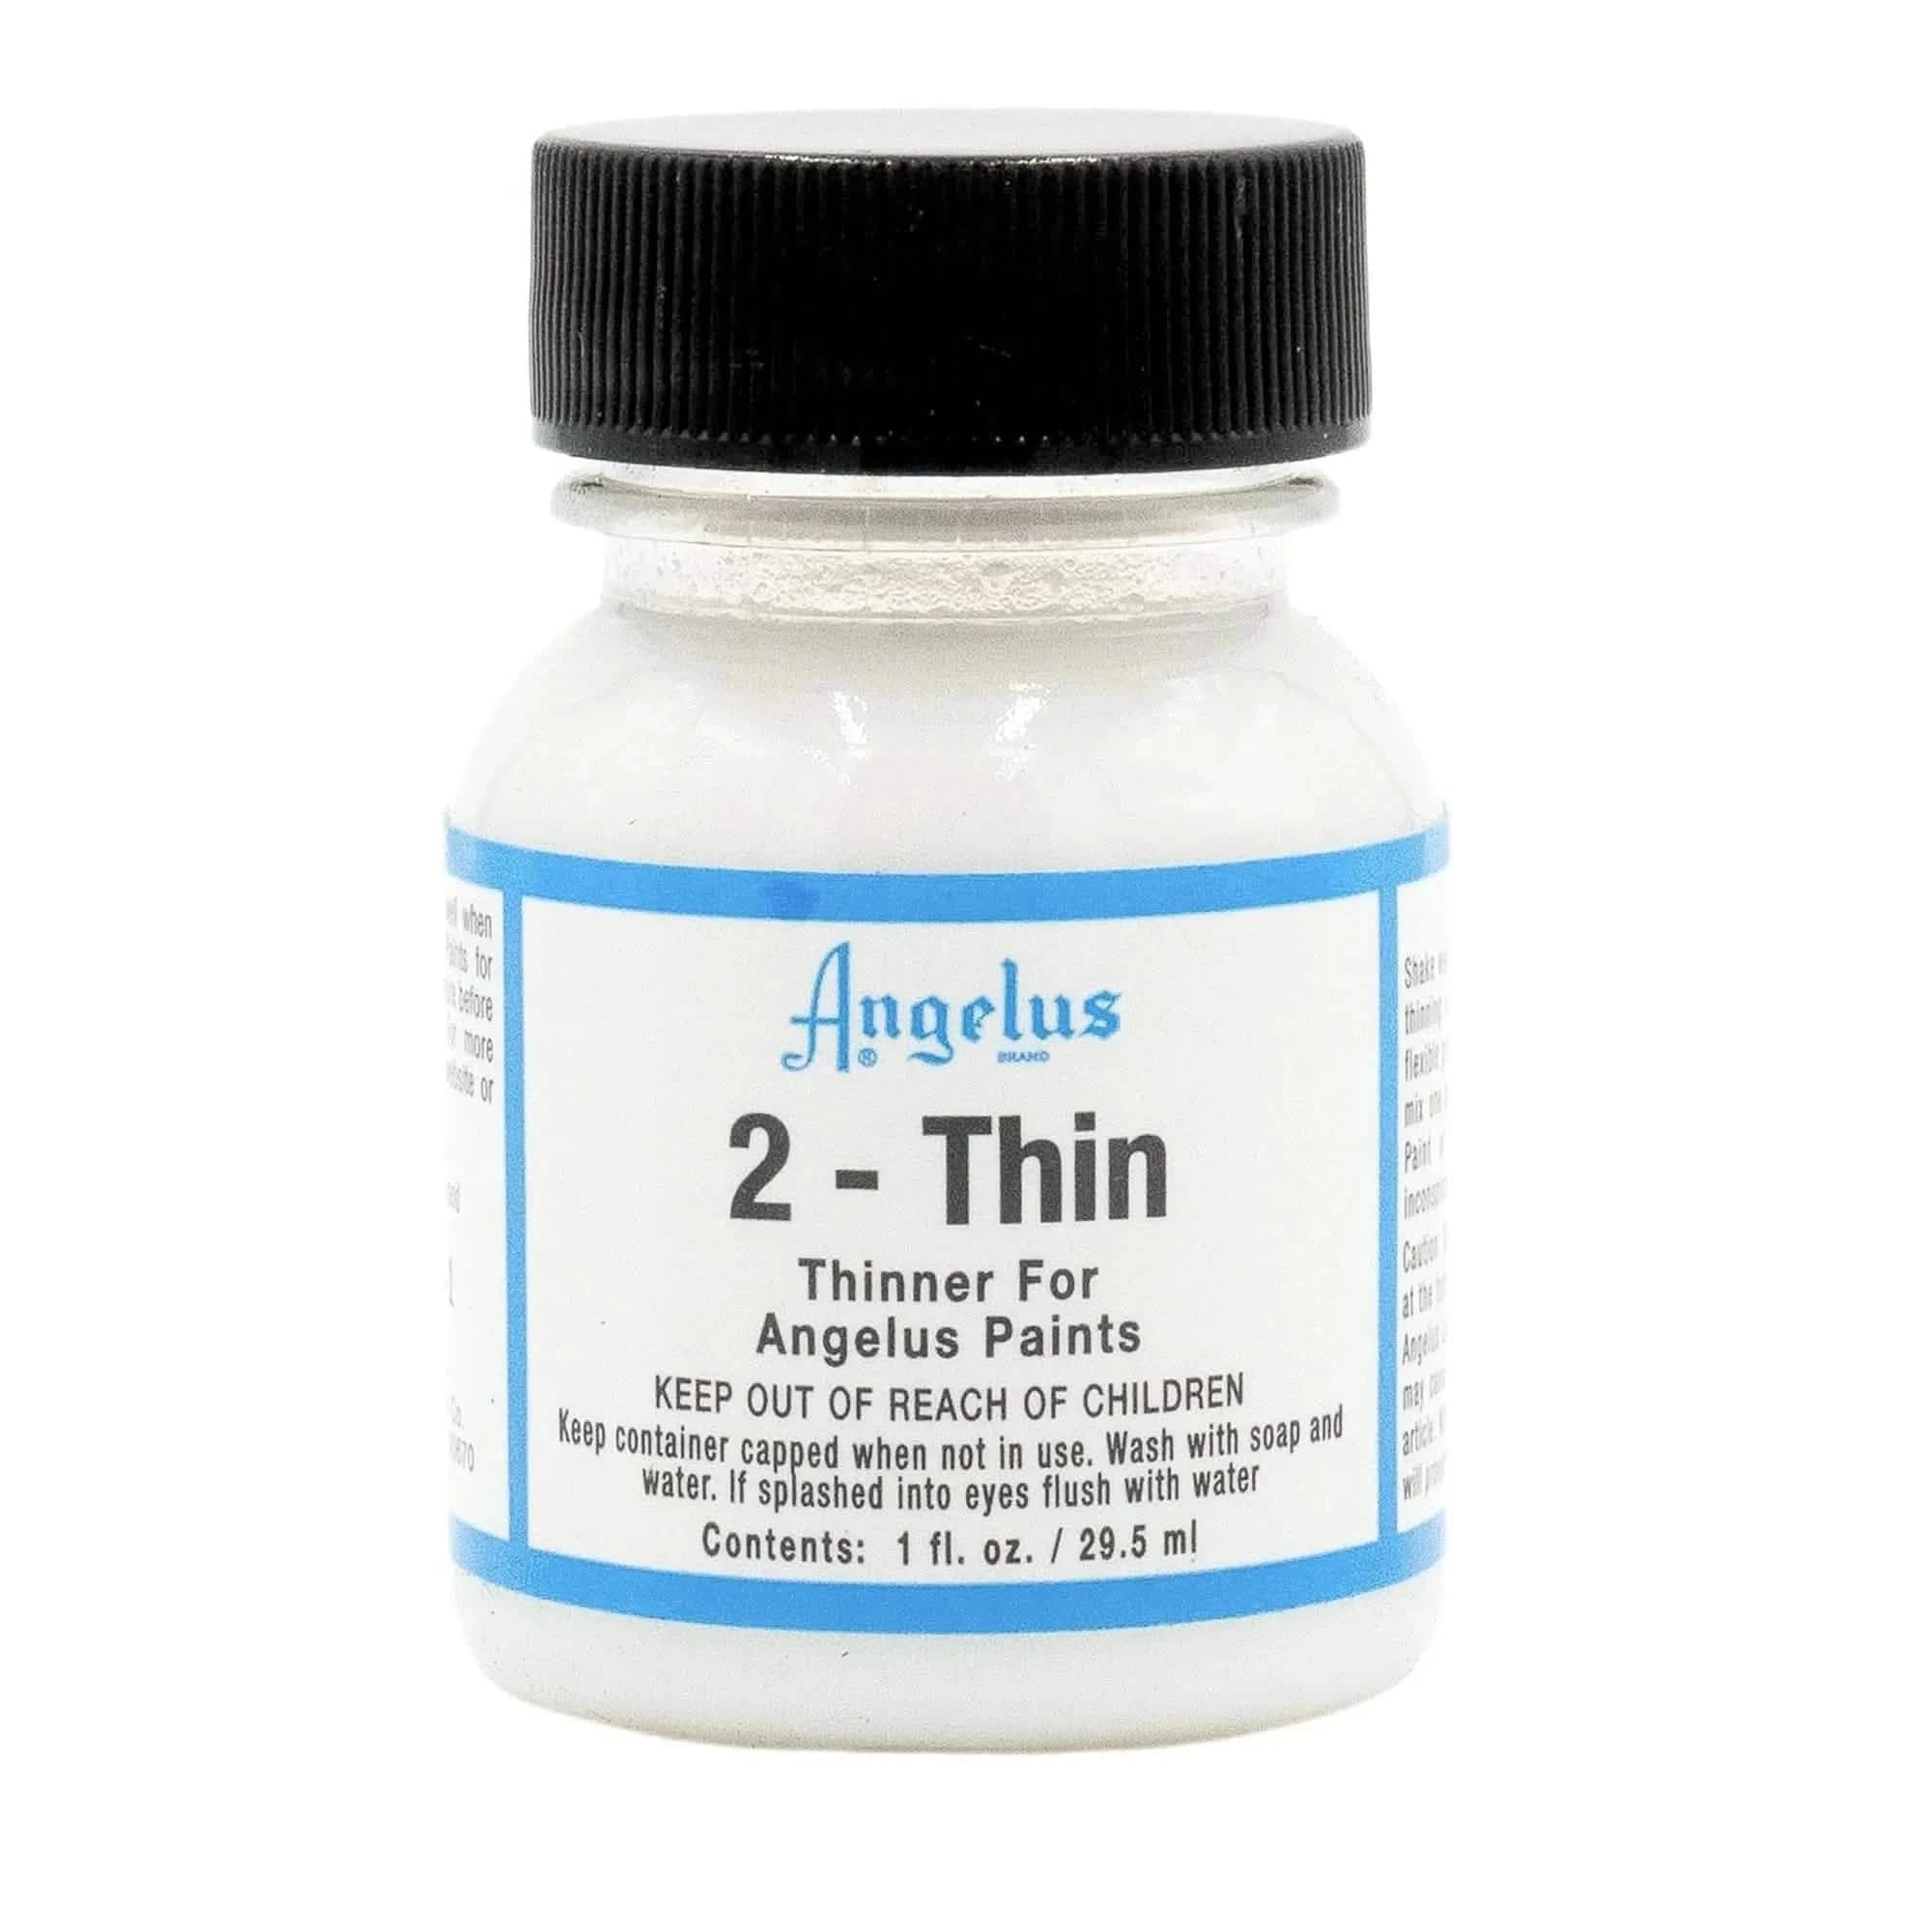
2-Thin Paint Thinner
$3.95
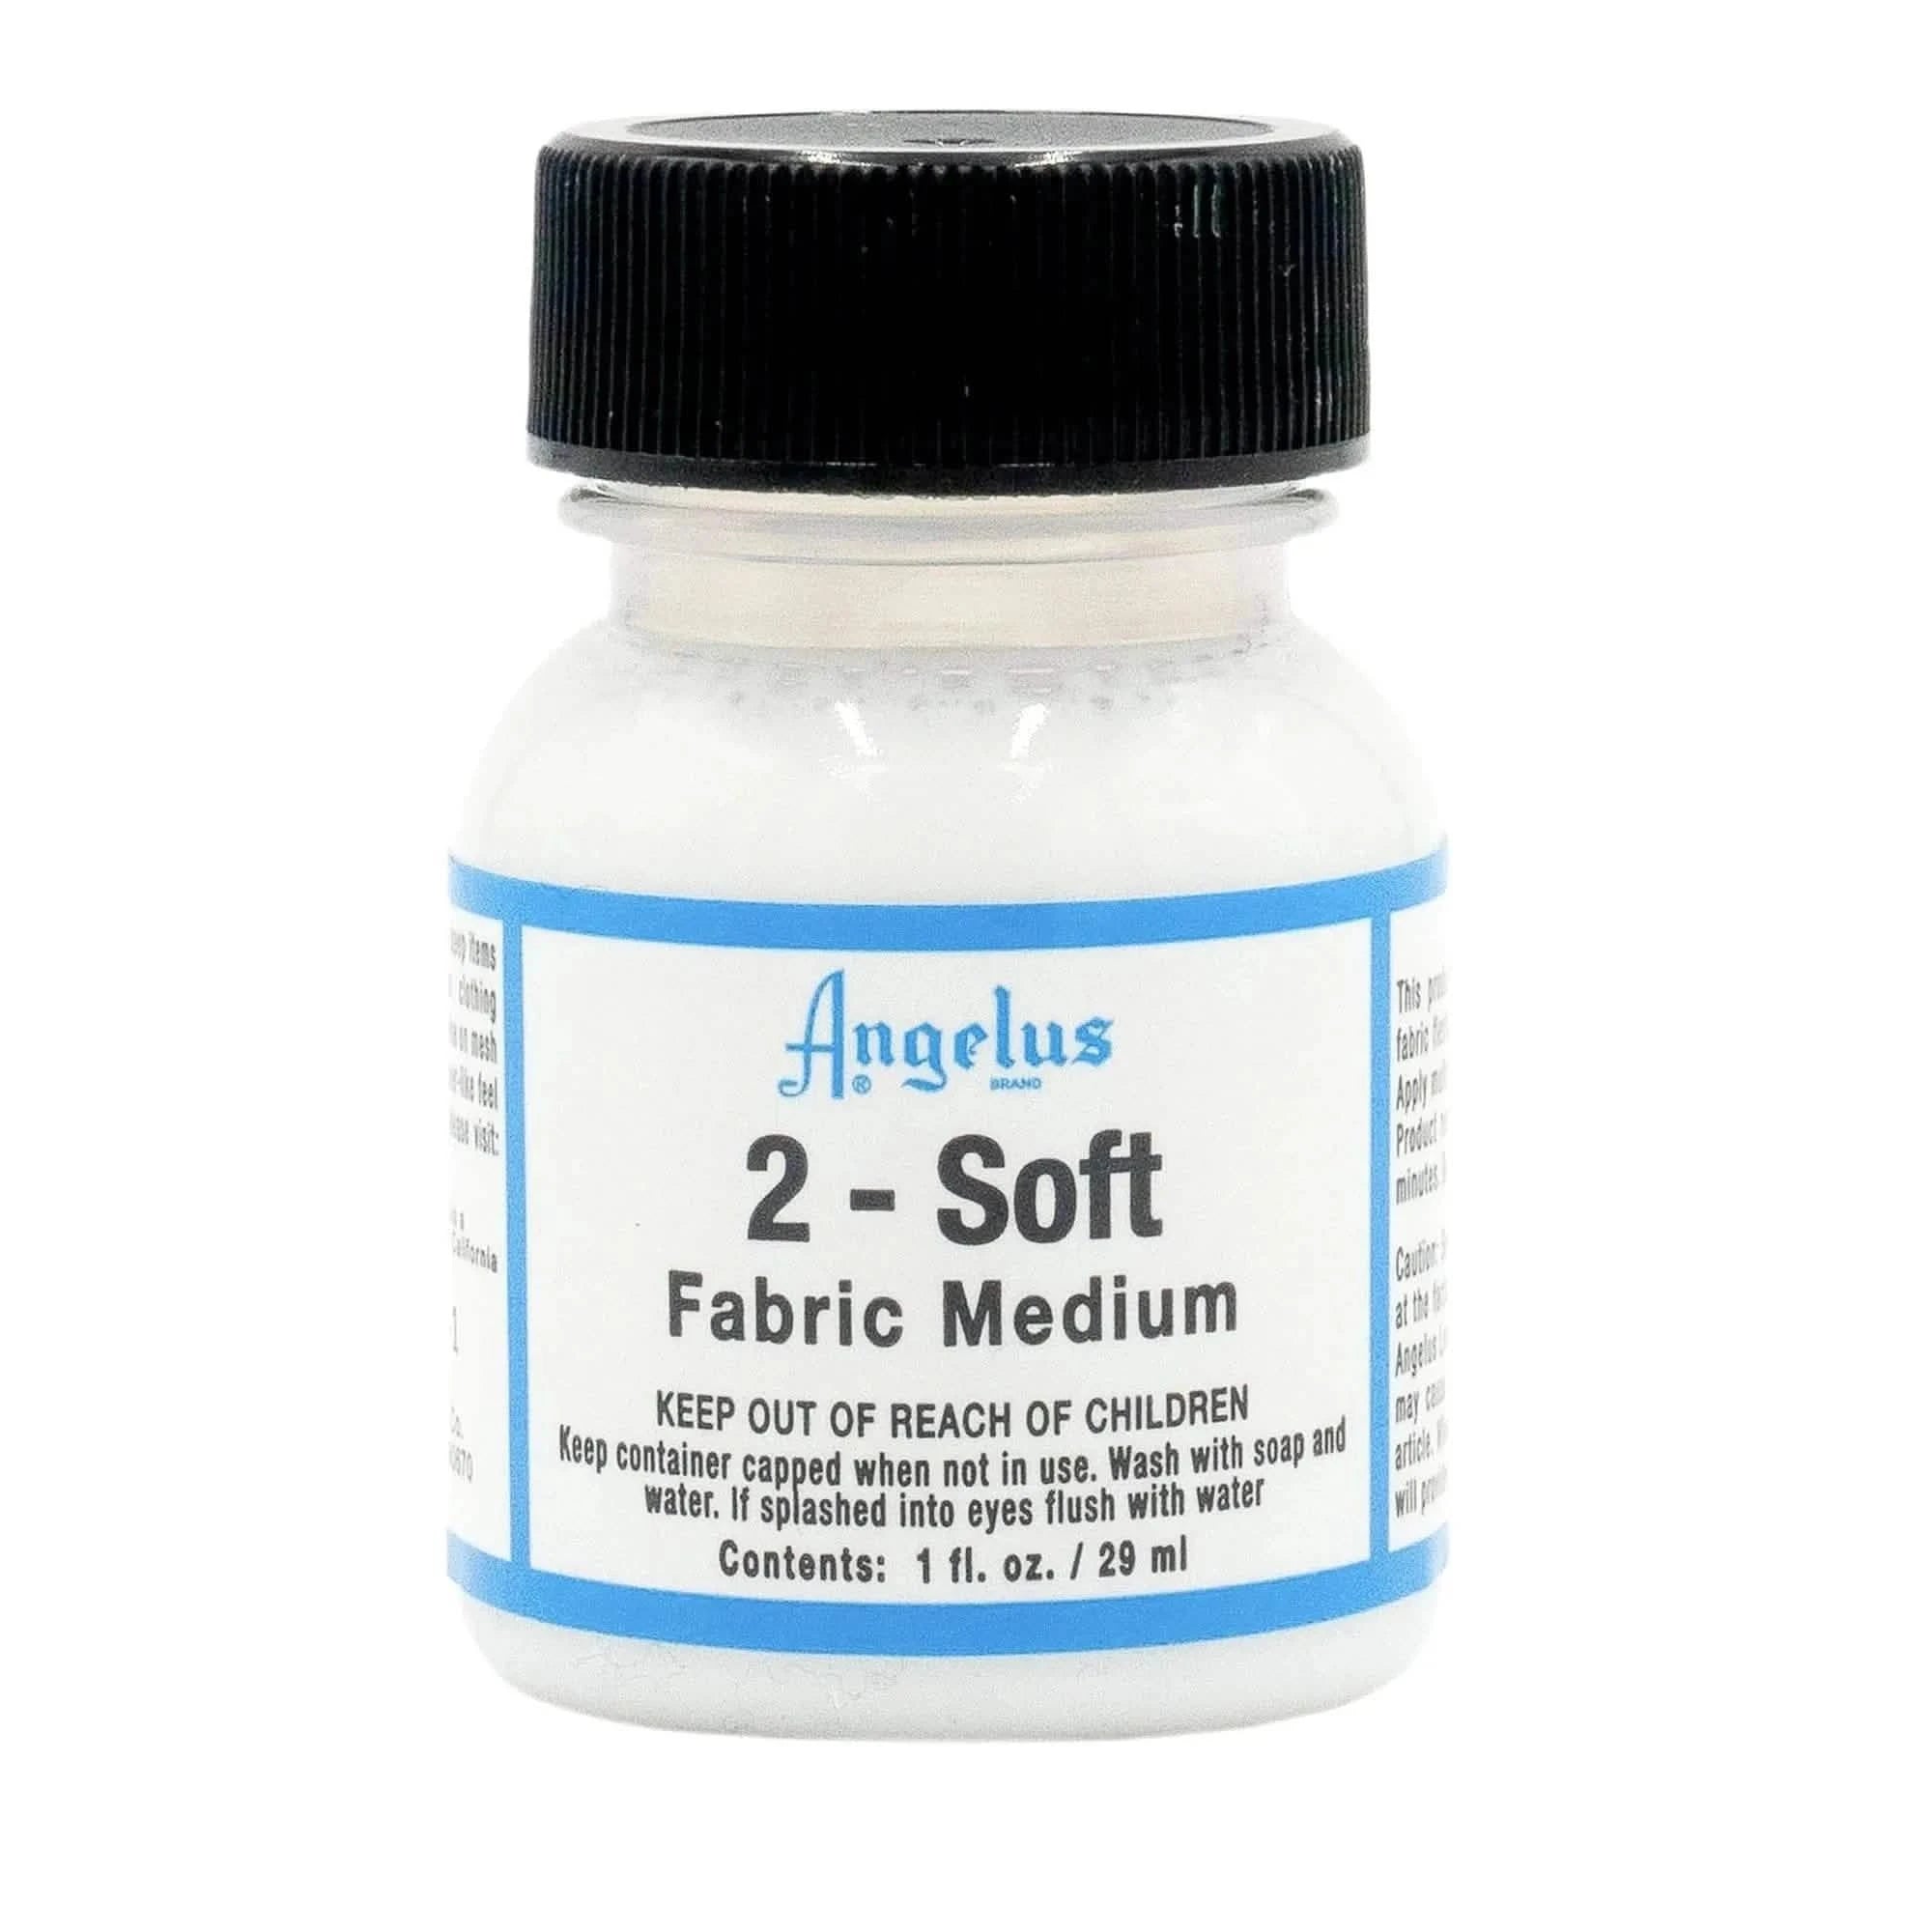
2-Soft Fabric Medium
$3.95
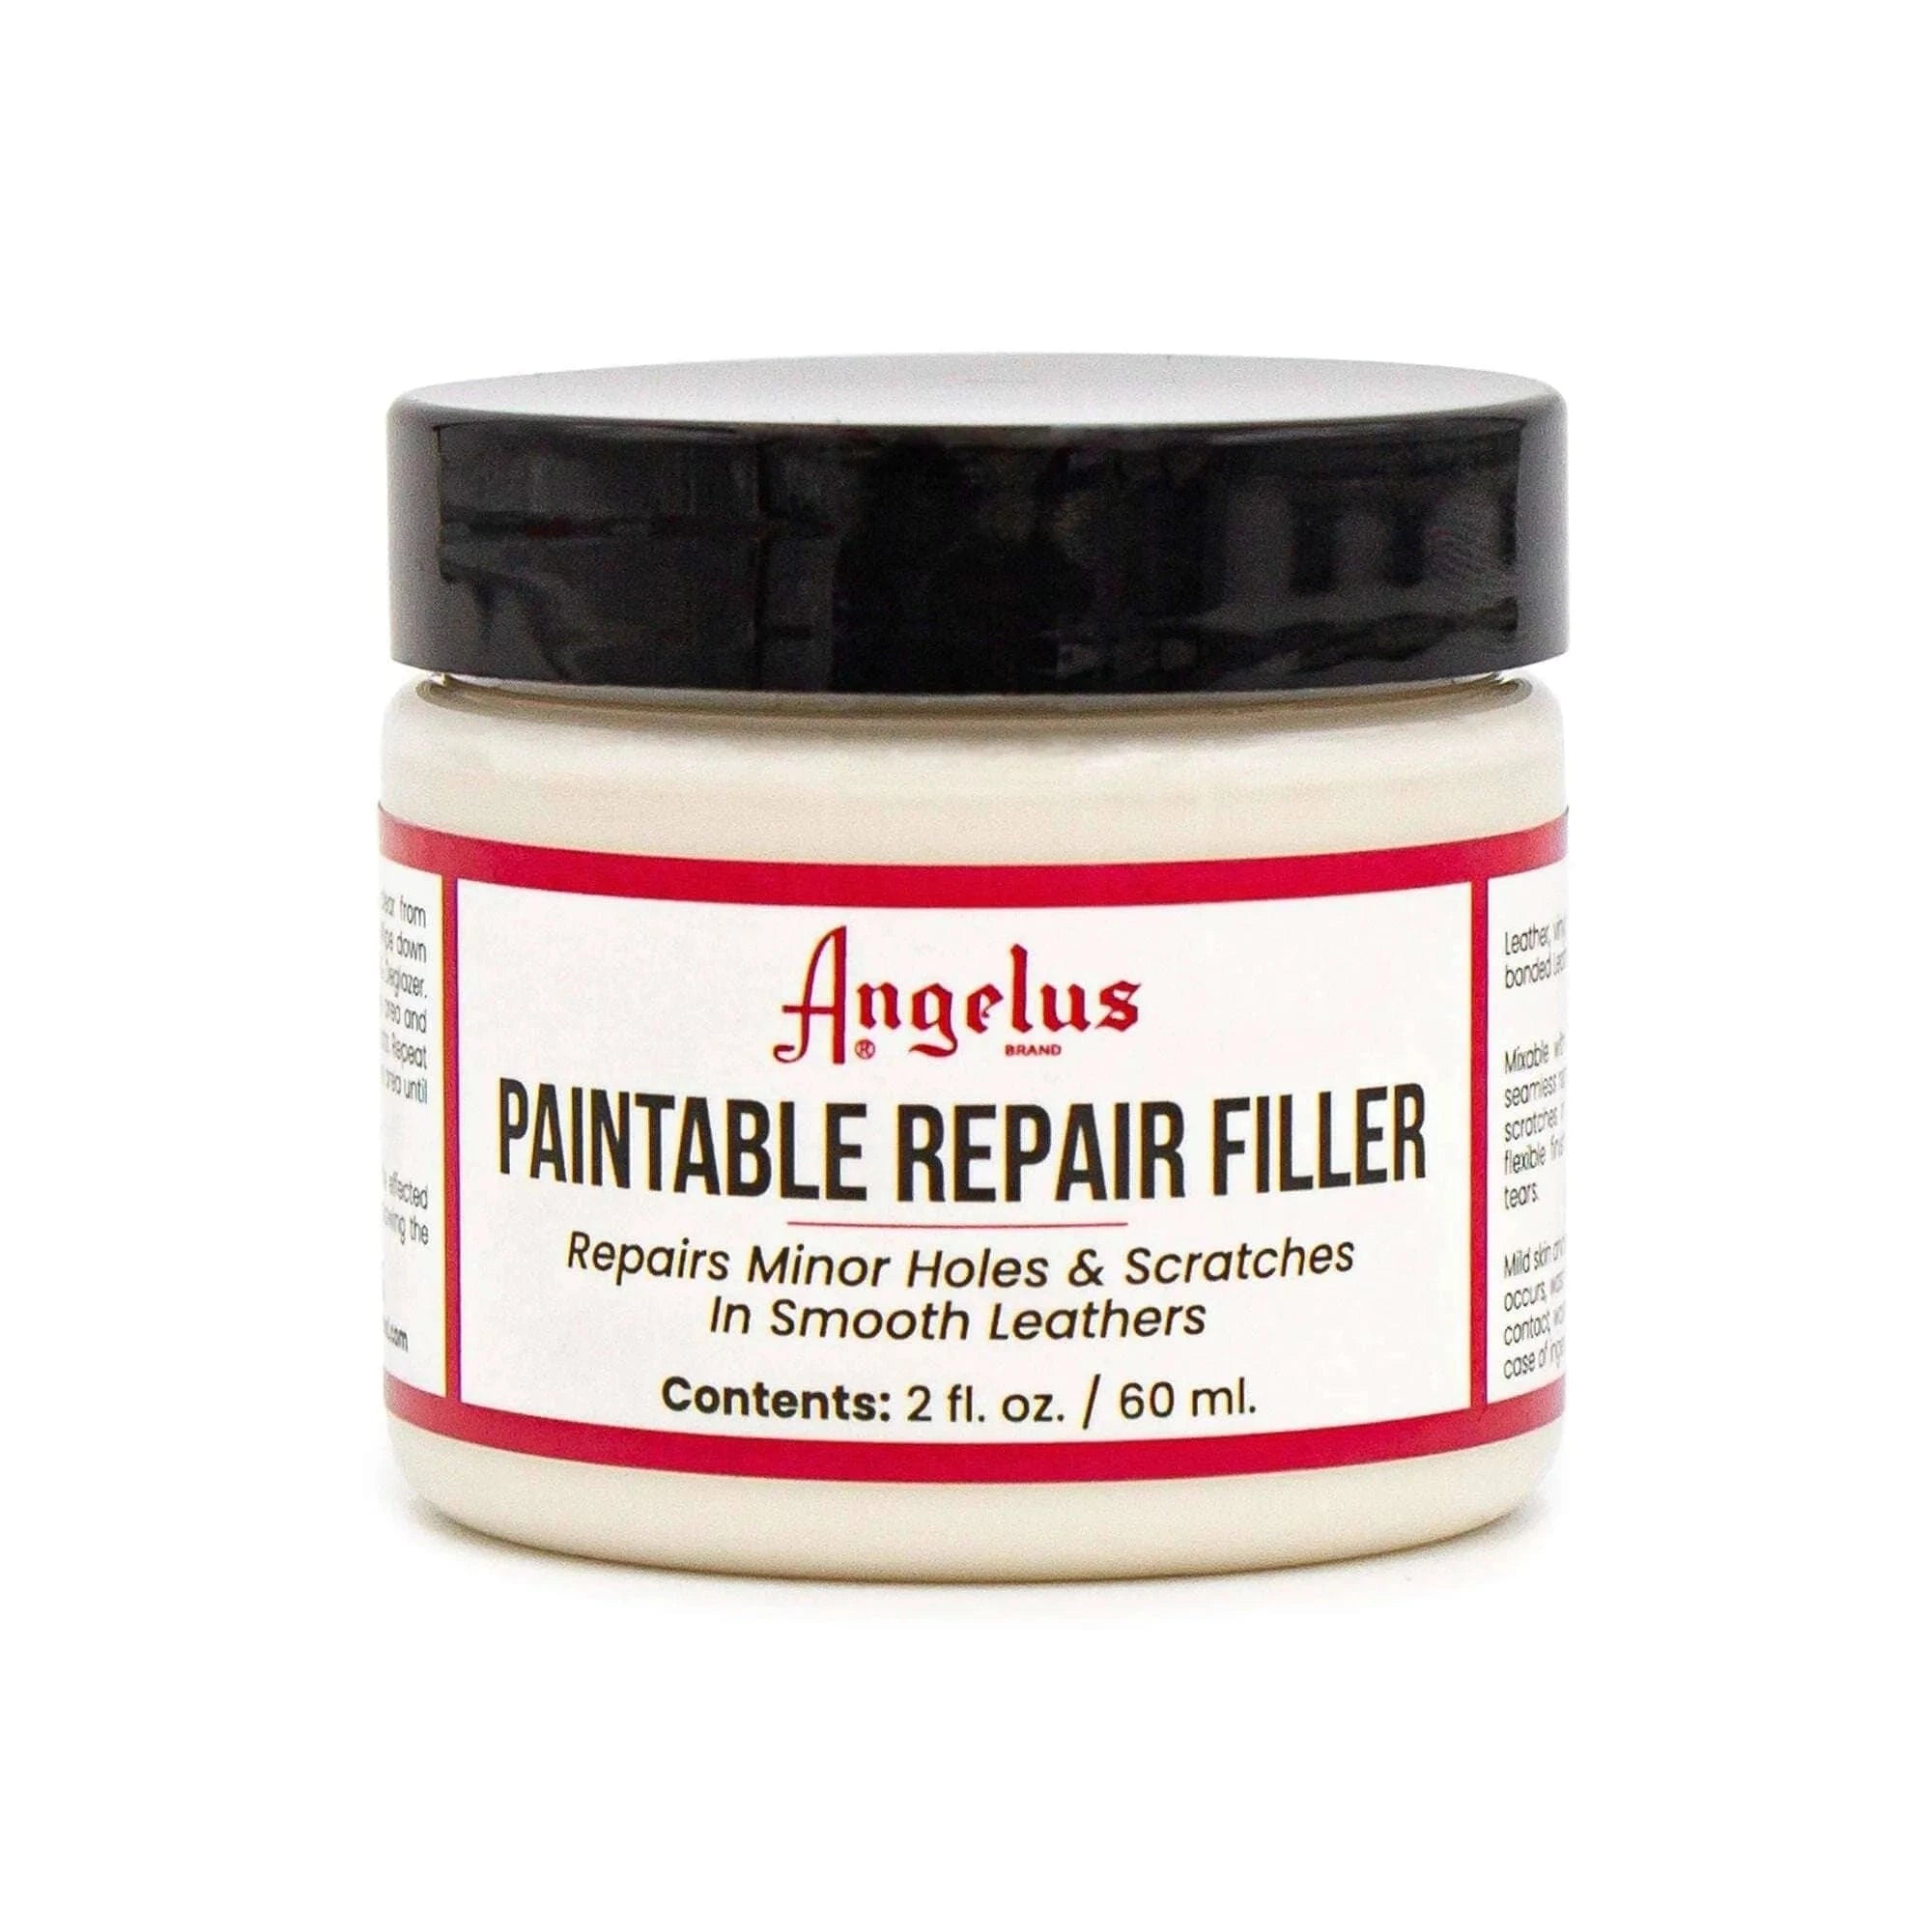
Paintable Repair Filler
$10.95
12 Color Paint Assortment Kit
$42.95
-$47.40
Flat 4-Coat
$6.95
2-Thin Paint Thinner
$3.95
2-Soft Fabric Medium
$3.95
Paintable Repair Filler
$10.95
12 Color Paint Assortment Kit
$42.95
-$47.40
Flat 4-Coat
$6.95
2-Thin Paint Thinner
$3.95
2-Soft Fabric Medium
$3.95
Paintable Repair Filler
$10.95
12 Color Paint Assortment Kit
$42.95
-$47.40
Flat 4-Coat
$6.95
2-Thin Paint Thinner
$3.95
2-Soft Fabric Medium
$3.95
Paintable Repair Filler
$10.95
12 Color Paint Assortment Kit
$42.95
-$47.40
Flat 4-Coat
$6.95
2-Thin Paint Thinner
$3.95
2-Soft Fabric Medium
$3.95
Paintable Repair Filler
$10.95
12 Color Paint Assortment Kit
$42.95
-$47.40
Flat 4-Coat
$6.95
2-Thin Paint Thinner
$3.95
2-Soft Fabric Medium
$3.95
Paintable Repair Filler
$10.95
Unlock More Inspiration
Dive deeper into our Creator Spotlight series and discover new tutorials from top artists in the community. Whether you're looking to master advanced techniques or spark fresh ideas, these step-by-step guides will take your custom game to the next level.